


Raffia bags are practical, natural and often associated with summer holidays or bohemian style. However, it’s possible that your old raffia bag no longer suits your current taste or is a little worn out.
Rather than letting it gather dust or throwing it away, why not give it a second life? This article will show you how to transform your old bag into a trendy, unique and durable accessory.
Materials required
Before you start, prepare all the materials and tools you’ll need for your transformation.
An old raffia bag
Fabric paint or acrylic paint (choose the colours to suit your style)
- Poms, pearls or shells for decoration
- Rope or colored raffia thread to add detail
- Strong needles and sewing thread
- Brushes of different sizes for painting
- Textile glue (optional)
- A pair of scissors
Step 1: Clean and prepare the bag
Make sure your bag is clean before making any modifications. Dirt and dust can affect the adhesion of paintwork and accessories. Use a soft brush to remove dirt or, if possible, gently wipe the bag with a damp cloth and allow it to dry completely.
Step 2: Repair the bag (if necessary)
If the raffia is worn or frayed, repair these areas by reinforcing the seams with raffia thread or sewing thread. You can also add strips of raffia or fabric to hide damaged areas.
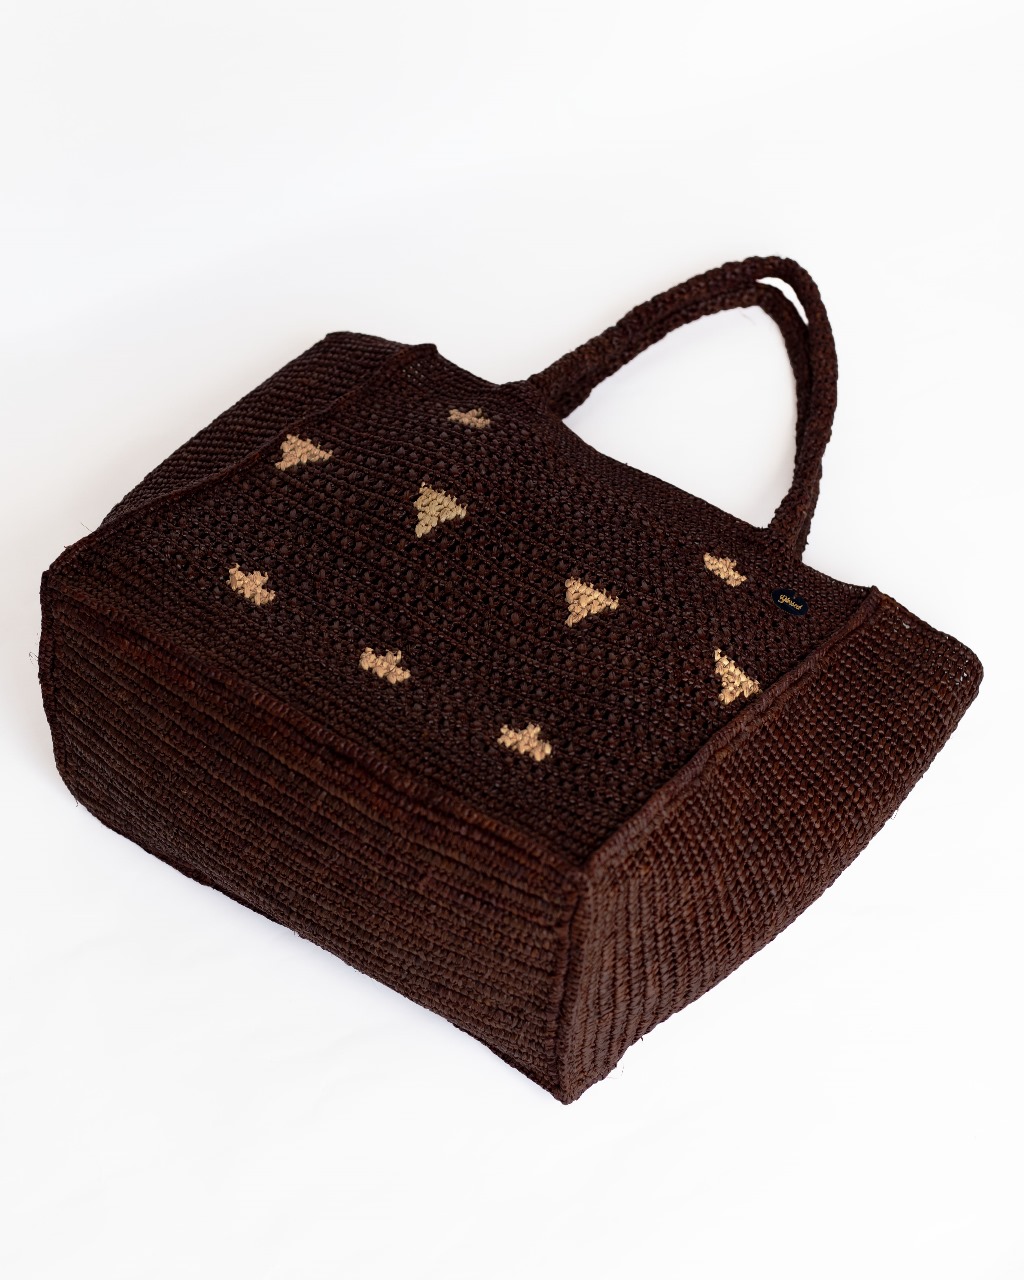
Step 3: Choose the style and colour scheme
Decide on the style of your bag. Go for colorful geometric patterns, a bohemian style with natural tones, or a more chic, minimalist design. Choosing a color palette at the begining will help you maintain a consistent theme.
Step 4: Paint the bag
Use fabric paint or acrylic paint to add patterns and colors to your bag. Here are some ideas for simple but effective patterns:
- Geometric patterns: triangles, lines and squares for a modern look.
- Stripes or zebra stripes: perfect for a natural, wild look.
- Flowers or plant motifs: add a tropical, summery touch.
Tip: Apply a thin coat of paint and let it dry before deciding whether a second coat is needed. This will prevent spills and smudges.

Step 5: Add accessories
- Pom-poms and beads: Sew or glue pom-poms of different sizes onto the bag. You can also attach them to a strip of raffia to make a pendant.
- Seashells and beads: Sew or glue on seashells for a seaside look. Pearls can be added to the handles or as a border around the bag.
- Colored rope: Wrap colored rope around the handles or sew it along the edges for a textured, colorful effect.
Step 6: Work on the handles
Handles can be redesigned for added comfort or style:
Wrap them with colored raffia thread in spirals or zigzags.
Add braids made from raffia to reinforce the bohemian, rustic look.
Step 7: Finalising the details
Once all the decorations are in place, inspect your bag to make sure everything is secure. If necessary, you can iron on a layer of textile glue to make sure the accessories stay in place.
Step 8: Protect the bag
To prolong the life of your bag and prevent the paint from peeling, apply fabric spray (available as a spray in hobby shops). This will also protect your bag from dampness.
Additional personalisation ideas
If you want to take your personalization a step further, here are a few more ideas:
- Embroidery: Add a little floral embroidery or initials for a chic, personal touch.
- Chain handle: Replace the handles with a gold or silver metal chain for a glamorous touch.
Inside pockets: Sew small fabric pockets inside the bag for added practicality.


The challenges facing the raffia sector in Madagascar: how can they be overcome?
How to overcome the challenges facing the raffia sector in…

Raffia and sisal : how do these two fibers complement each other in design ?
Contemporary design is increasingly favouring natural materials. Among the most…

7 Ways to Use a Sisal Clutch in Your Daily Life
In a daily life where natural materials are becoming central…